爱问经验方法/步骤
1/4分步阅读在web服务根目录下,创建upload.html;
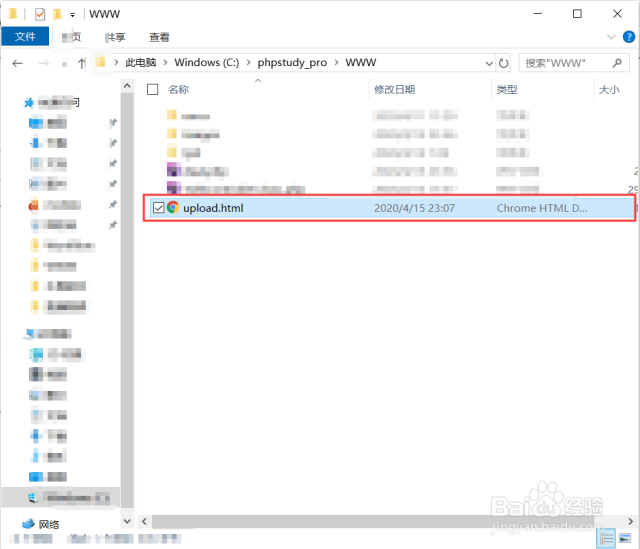 [图]2/4
编写后端处理代码;
deal.php:
<?php
if(count($_FILES) > 0) { $type = $_FILES['upimg']['type']; $flag = 0; if(is_uploaded_file($_FILES['upimg']['tmp_name'])) { //转成二进制,这里的二进制对象也可以写入数据库等介质 $imgBlob =file_get_contents($_FILES['upimg']['tmp_name']); //图像类型$image_type = array( 1,//GIF 2,//JPG 3 //PNG);$imagesize = getimagesize($_FILES['upimg']['tmp_name']);//处理图片后缀(格式)$ext ="";if(in_array($imagesize[2],$image_type)){ switch($imagesize[2]){case 1: $ext = "gif"; break;case 2: $ext = "jpg"; break;case 3: $ext = "png"; break;default: $ext =""; break; }}if(!$ext){ header("Content-type:text/html;charset=utf-8;"); echo "非法的图片格式,只允许JPG,png,gif格式!"; die();}//这里的图片路劲可以写入数据库等存储介质$file = "images/".time().".".$ext;$flag = file_put_contents($file,$imgBlob); } if($flag){header("Content-type:{$type}");echo ($imgBlob); }else{header("Content-type:text/html;charset=utf-8;");echo "保存图片失败!"; } die();}else{ header("Content-type:text/html;charset=utf-8;"); echo "操作异常!";}?> [图]
[图]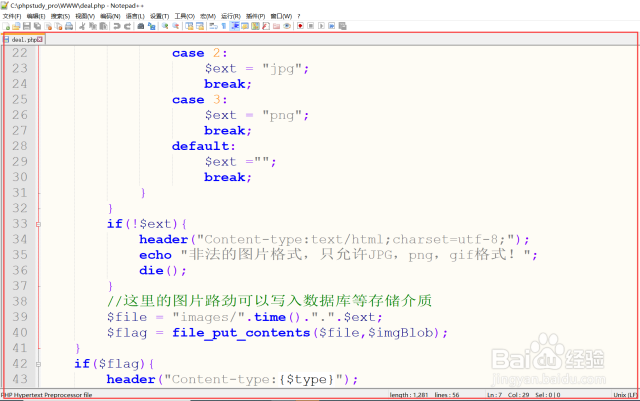 [图]
[图]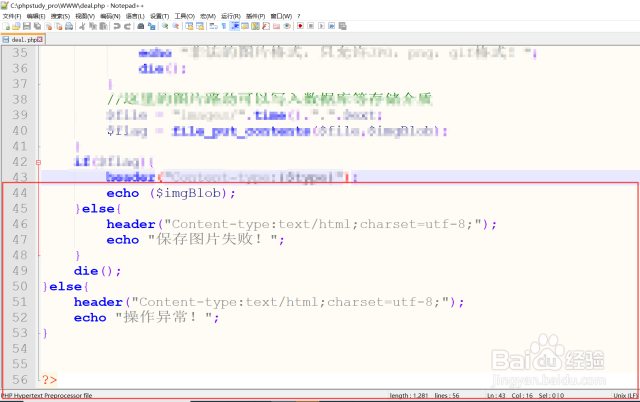 [图]3/4
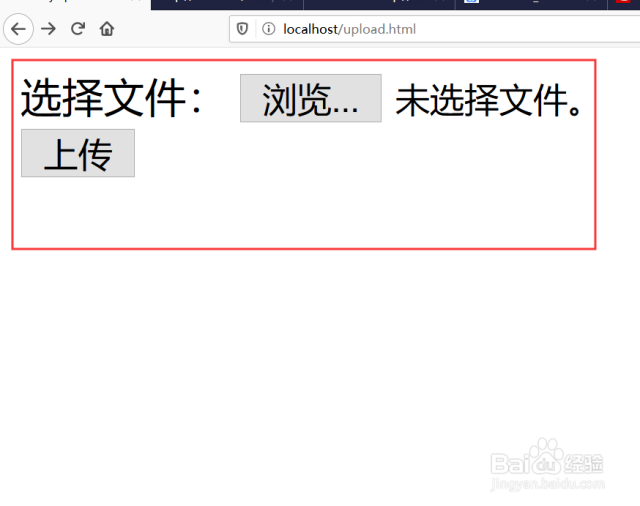
运行测试:
1.打开浏览器,地址栏输入:http://localhost/upload.html,并回车;
2.选择图片;
3.点击上传;
 [图]
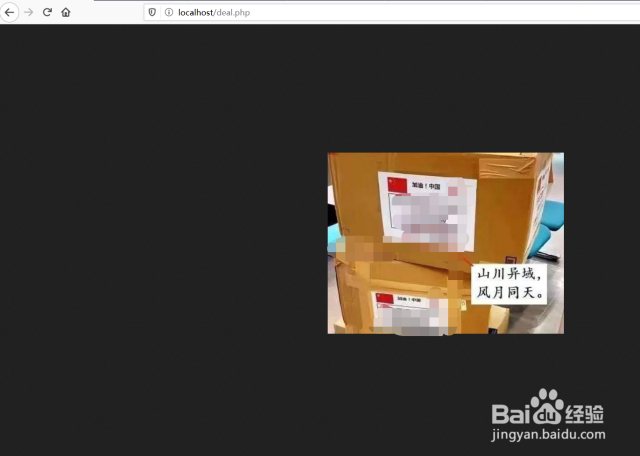
[图] [图]4/4
图片上传成功;
在images文件下也已经保存。
 [图]
[图]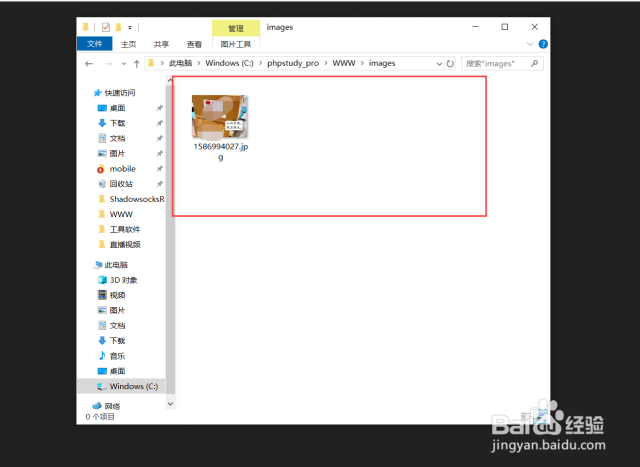 [图]
[图]注意事项
在linux下,注意文件夹读写权限;
编辑于2025-10-03,内容仅供参考并受版权保护


